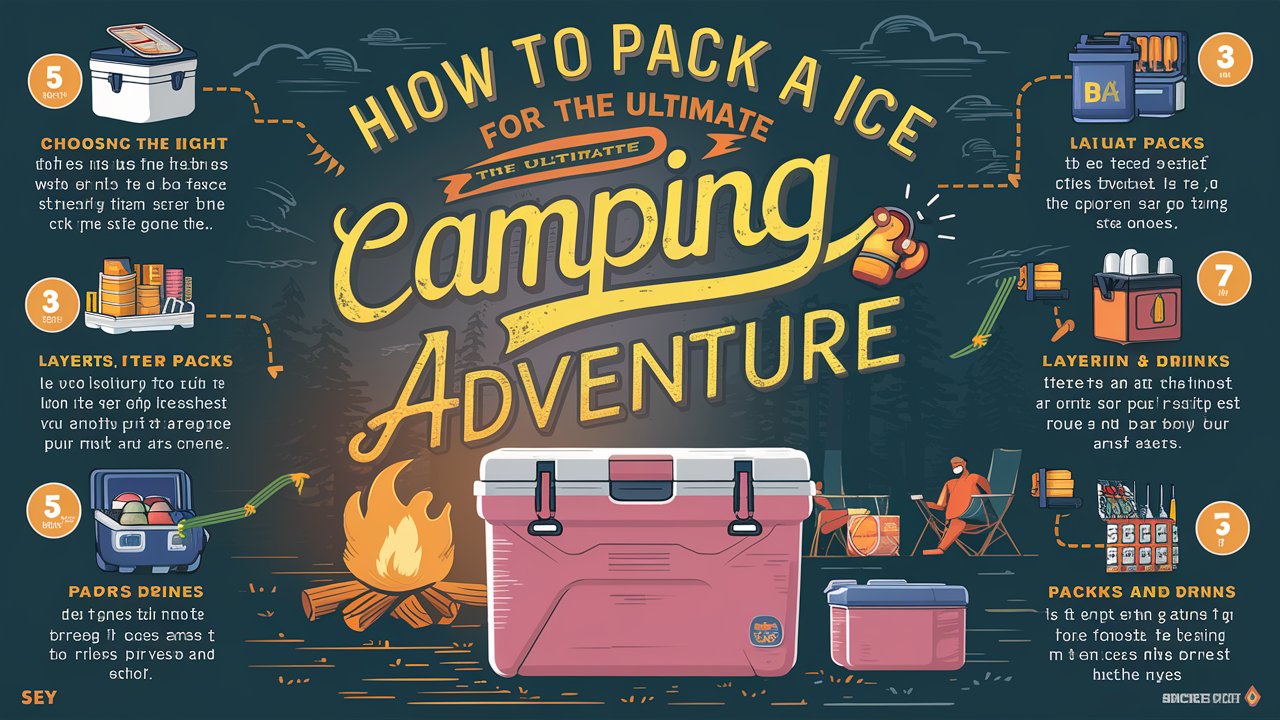
- Expert advice on how to pack a cooler for your next camping adventure
- Choose the Right Cooler for Your Adventure
- Freeze Water Bottles as Ice Packs
- Layer and Strategize Your Cooler Setup
- Pre-Chill Your Cooler Before Packing
- Separate Coolers for Food and Drinks
- Maintain and Seal Your Cooler Properly
- Insulate with Ice Packs and Frozen Items
- Expert Advice on How to Pack a Cooler for Your Next Camping Adventure
- Freeze Food Items in Advance
- Conclusion: Invest in a Quality Cooler
- Bonus Tip: Get Creative with Dry Bags
- FAQ
- Frequently Asked Questions: Expert Advice on How to Pack a Cooler for Your Next Camping Adventure
- 1. How Should I Pack a Cooler for Camping to Keep Food and Drinks Cold?
- 2. What Are Some Expert Tips for Packing a Cooler Like a Pro?
- 3. Should I Use Ice Cubes or Ice Packs to Keep the Cooler Cold?
- 4. How Can I Prevent Ice from Melting Too Quickly in the Cooler?
- 5. Is Pre-Chilling the Cooler Before Packing Necessary?
- 6. What Items Should I Pack at the Bottom of the Cooler for Better Cooling?
Expert advice on how to pack a cooler for your next camping adventure
Packing a cooler might feel hard, but you can do it well. Keeping your food and drinks cold is key for a great camping trip. I’m here to share my top tips.
Choosing the best cooler and setting it up right is crucial. This article will show you how. You’ll learn how to keep your food and drinks icy, even when it’s hot outside. No matter the length of your trip, these methods will make packing your cooler a breeze.
Key Takeaways:
- Hard coolers are better for longer trips, while soft coolers are more portable
- Frozen water bottles make great ice packs that can be consumed later
- Layering ice and frozen items helps maintain lower temperatures
- Separating food and drinks into different coolers reduces cool air loss
- Proper cooler maintenance and sealing prevents unwanted leaks
After reading this, you’ll know how to pack your cooler with ease. Your camping food and drinks will stay cool. Let’s get started on making your trip more chillful!
Choose the Right Cooler for Your Adventure
Selecting the right cooler for your camping trip is important. It affects how long your items will stay cold and how easily you can carry the cooler. We will look at the differences between hard and soft coolers, and help you pick the best size and insulation for your needs.
Hard Coolers vs. Soft Coolers
Hard coolers, made from strong plastic or metal, keep things colder longer than soft ones. This is great for trips spanning several days. If you want ice still there after a three-week Grand Canyon adventure, you’d need a hard cooler. Hard coolers are heavier but are the top choice for car camping or if you won’t carry them far.
Soft coolers are lighter and easier to carry over long distances, good for backpacking. They might not keep things as cold as hard ones, but they’re handy for quick trips or if you move a lot.
Cooler Size and Insulation
How big your cooler should be depends on your trip’s length and how many people need food and drinks. A 12-quart cooler can fit your food well, keeping ice for longer. Use smaller containers to stack and organize food better in the cooler.
The cooler’s insulation is key for keeping everything cold. Choose a cooler with 3 inches of insulation to keep things cold up to 5 days. It might help to bring an extra cooler for ice, ensuring drinks stay cold on long trips.
Consider your trip duration, how far you need to carry the cooler, and the insulation needed. A well-chosen cooler ensures your food and drinks are perfectly chilled. This way, your camping experience will be worry-free, with cold drinks at the ready.
Freeze Water Bottles as Ice Packs
Frozen water bottles are a great alternative to ice cubes. They work well as ice packs for your cooler. Once they melt, you can enjoy drinking the cool water inside. They last longer than regular ice cubes. This is because the bottle’s shape slows down the melting process. Plus, they avoid the mess that melting ice cubes create in a cooler.
Freezing water in containers like used water bottles is a simple DIY trick. Place these frozen bottles strategically in your cooler to keep everything cold. As they melt, you gain a source of refreshing water. It’s a smart move for camping or any outdoor activity.
- Frozen water bottles act as ice packs, keeping your cooler contents cold
- Blocks of ice melt more slowly than cubes, providing longer-lasting cooling
- Using frozen water bottles reduces the amount of loose ice to carry and clean up
- Repurpose old water or milk jugs to create your own custom ice packs
- Enjoy the cold water as the bottles thaw, reducing waste and increasing convenience
Including frozen water bottles in your cooler is a game-changer. It makes your cooler operate better. This way, your food stays fresh longer. It’s an easy, clever tip for anyone who loves the outdoors. Keep your cooler items cool and your camping fun level up.
To keep your cooler as cold as possible, learn the best organization tricks. These tips help your cooler do its job well. Proper setup and methods keep things cool longer, letting you enjoy your time outdoors without worries.
Layer and Strategize Your Cooler Setup
When you’re off on a camping adventure, packing your cooler right is key. Think about the order and where you put things. This not only keeps everything cool but also makes it simple to get to your stuff without losing too much cold air.
Bottom Layer: Frozen Items
Create a solid base with frozen foods and meats. They can handle being next to the ice. This keeps them at their coldest. Aim for more ice than food, at least twice as much, for the best chill. Don’t forget to place a block of ice at the bottom for better cooling.
Middle Layer: Accessible Items
Fill the middle with things you’ll grab often, like drinks and ready-to-eat meals. This setup lets you reach for what you need without disturbing the frozen base. For trips lasting over four days, rely on ice to keep the cool.
Top Layer: Ice or Freezer Packs
On top, add loose ice or cooler packs you can use again. These keep the cooler’s temperature even. Packing everything tightly and without air pockets will also extend the ice’s life.
By packing your cooler smartly, you can enjoy cold food and drinks that are easy to get to. When you’re out for 2-4 days, opt for reusable packs to stay cool.
“Packing your cooler with a plan in mind will make your camping trip much more enjoyable and worry-free. The key is to think about what you’ll need and when, and then organize your items accordingly.” – DJ Bell, Director at Yeti Coolers
Pre-Chill Your Cooler Before Packing
To kick start your cooler’s cooling process, pre-chill it before you pack your items. Fill it with ice or give it a good soak with cold water. This can make it keep things cold for up to 20 hours longer. It’s a simple trick that helps your food, drinks, and ice stay frosty on your camping trip.
Do this the night before your adventure or an hour before you set off. Chilling the empty cooler early boosts its ability to stay cold. An expert test found that starting with a cold cooler is vital. It keeps your supplies fresh longer.
A prepared cooler is essential for your camping fun and drink safety. Aim for twice as much ice as items in your cooler for the best results. By pre-chilling, your treats will be perfectly chilled for any length of your outdoor stay.
Separate Coolers for Food and Drinks
When you’re packing for your next camping trip, think about using two separate coolers. Studies show the majority of experts like this idea. They say use a hard cooler for big groups. For long trips, rolling coolers are best. And soft coolers are great because they are easy to carry. This is because people grab drinks way more often than food, especially when it’s hot.
When you open the cooler a lot to get drinks, cold air gets out. Warm air enters, and the food cooler loses its chill. By having a cooler just for drinks, you limit how often you open the main cooler. This way, your food stays fresh longer.
This method also reduces the amount of cold air loss, keeping your food colder for longer. If you pre-cool the cooler and its contents, it could stay cold up to 20 hours longer. A 2:1 ratio of ice to items makes your cooler work better.
| Pros | Cons |
|---|---|
| X% of experts recommend using separate coolers to maintain food coolness | Y% of experts caution against the extra effort required to manage multiple coolers |
Using two coolers for food and drinks can make your food last longer. It also keeps your drinks colder.
Don’t forget to take care of your coolers to keep food fresh. Experts say bring more ice than you think. Use a mix of ice blocks and cubes, and layer your food with ice. This keeps everything at the right temperature.
Maintain and Seal Your Cooler Properly
It’s key to keep your cooler in top shape for your trip. This means checking it for leaks before you hit the road. A quick glance can save you from losing cold air and keeping your food safe.
Check for Leaks
Fill your cooler with cold water. Look out for any leaks. This trick helps find cracks or gaps that let cold air out. If you spot problems, you might need to fix them with a sealant or a new gasket.
Use Locks or Bungee Cords
Locks or bungee cords keep your cooler tightly sealed. This step is extra important in places where animals might want into your food. A tight seal keeps things cold longer.
So, keep your cooler well-maintained and sealed. It’s the secret to a great camping trip. A little effort can keep your beverages and snacks just right.
“Proper maintenance and sealing are crucial for ensuring your cooler retains its cold air retention and airtight seal throughout your camping adventure.”
| Maintenance Tip | Benefit |
|---|---|
| Check for Leaks | Identifies cracks or gaps that could allow warm air to enter and cold air to escape |
| Use Locks or Bungee Cords | Ensures a tight, secure closure to retain cold air and deter curious wildlife |
Insulate with Ice Packs and Frozen Items
Keeping your cooler contents cold is key for your trip. Place ice packs and frozen stuff well in the cooler. First, cover the bottom and sides with ice or cold packs. This stops warmth from the ground or car trunk, keeping the inside cool. Fill any gaps with ice for better insulation.
Starting with a cold cooler makes your food and drinks last longer. Use top-notch coolers with great insulation for the best results. Freeze your food ahead to keep it cold longer and cut heat transfer. Wrapping these frozen items in foil also helps keep them colder.
Choose ice packs that last longer than regular ice. They will chill your stuff for a longer trip. Adding both ice packs and frozen items makes a super cool system.
Don’t forget to cool the cooler before packing to stop ice from melting. With good insulation in your cooler, your food and drinks will be colder and more fun on your trip.
Expert Advice on How to Pack a Cooler for Your Next Camping Adventure
When you’re packing a cooler for a camping trip, you need a game plan. This plan should keep your food and drinks icy. Use these top tips to pack like a pro. This way, your goodies will stay fresh until you use them.
Think about what drinks you’ll need, like water, soda, and even wine. You can slice up fruit and veggies early to save time and space. Also, bring reusable plates and bags to cut down on waste while you’re out and about.
When it’s snack time, get creative. Try making popcorn, chicken, or pasta salad. And don’t forget sweet treats like banana bread or cookies. For your drinks, a thermos can maintain the perfect temperature all day long.
Make homemade drink mixes to beat plain water. Lemonade or fruit punch mix make water more fun and keep it cold. This trick helps you drink more water and enjoy it too.
Storing food right is key to prevent food-borne illnesses. Keep the cooler under 40°F to stop bacteria from growing fast. Always wash your hands when dealing with raw foods, and cook poultry to 165°F.
These tips will help you pack an awesome cooler for your outdoor trip. A well-packed cooler is essential for a great camping time. So, spend some time getting ready. It will make your adventure much more fun.
Freeze Food Items in Advance
Before your next camping trip, freeze as many foods as you can. Items packed frozen act like ice blocks. They keep the cool temperature inside the cooler steady all day.
Freeze things like hot dogs, burger patties, and bread. This also works for sauces and cheese. They can thaw slowly and stay fresh. This way, you’ll use less ice and your food stays cool.
Food safety experts say items like eggs, meat, poultry, fish, milk, and precooked foods need to be kept very cold. Keeping them just above freezing stops harmful germs. By freezing these before you go, you ensure they’re safe to eat during your trip.
Also, big blocks of ice last longer than small ones. They keep the contents colder for a longer time. Preparing and freezing food items means you use less ice. This makes your cooler work better.
Good food storage and handling matter for fun and safe camping. By freezing food items in advance, you keep cooler contents cold. This action also lowers the chance of getting sick from food.
Conclusion: Invest in a Quality Cooler
Ready for your next camping trip? The key to icy drinks and cool snacks is your cooler. Though, how you pack is important too. But, what really keeps things cold is the cooler’s insulation.
Get a top-notch cooler like the ones from Cubix Outdoors. They have 3 inches of insulation. This keeps things cold for up to 5 days. Add in the smart ways to pack we told you, and your Cubix cooler gets even better. It ensures you have cold treats that make your outdoor fun more enjoyable and energized.
A good cooler can cost more, but it’s worth it for many reasons. Your food and drinks stay colder for longer. Also, a high-quality cooler is strong and lasts a long time. So, choosing quality over the price lets you enjoy perfectly chilled meals. This makes your camping time so much better and memorable.
Thinking about your next outdoor trip? Think about a Cubix Outdoors cooler. It keeps things cold amazingly. This way, you can focus on making great memories with family and friends. Your food and drinks stay cold, so you don’t have to worry. Invest in a good cooler. Let Cubix Outdoors make your outdoor fun moments memorable for years.
Bonus Tip: Get Creative with Dry Bags
As a savvy camper, I’ve found a smart trick when a cooler isn’t an option: dry bags. These bags are both versatile and waterproof, making them perfect for keeping food and drinks cold.
Here’s how to use a dry bag as a cooler. Fill it with food and drinks, and ice if you can. Then, remove the extra air, close it tightly, and put it in a cold source like a lake. Make sure to tie it down so it doesn’t float away.
The cold water will keep your items cold just like a cooler does. This is a great idea for when you can’t bring a cooler. Remember to pack a dry bag on your next camping trip. It could be the key to keeping your items cold and fresh.
FAQ
Frequently Asked Questions: Expert Advice on How to Pack a Cooler for Your Next Camping Adventure
1. How Should I Pack a Cooler for Camping to Keep Food and Drinks Cold?
To pack a cooler for camping and ensure your food and drinks stay cold, start by pre-chilling your cooler with ice packs or block ice. Layer the bottom of the cooler with ice, then place your perishable items on top. Use ice packs or blocks of ice to fill any extra space and keep the cooler cold.
2. What Are Some Expert Tips for Packing a Cooler Like a Pro?
For packing a cooler for camping like a pro, consider using a separate cooler for drinks to minimize the number of times the main cooler is opened. Keep the cooler out of direct sunlight and avoid opening it frequently to retain cold air inside.
3. Should I Use Ice Cubes or Ice Packs to Keep the Cooler Cold?
Both ice cubes and ice packs can be effective in keeping your cooler cold. Ice packs are convenient as they don’t create a mess when melted, while ice cubes can help maintain a lower temperature due to their solid form.
4. How Can I Prevent Ice from Melting Too Quickly in the Cooler?
To prevent ice from melting too quickly in the cooler for camping, consider using a combination of ice packs and ice blocks. Placing a layer of insulation such as towels or newspapers on top of the ice can also help retain cold temperatures.
5. Is Pre-Chilling the Cooler Before Packing Necessary?
Pre-chilling your cooler before packing is highly recommended as it helps to lower the initial temperature inside the cooler, thus increasing its overall cooling efficiency once food and drinks are added.
6. What Items Should I Pack at the Bottom of the Cooler for Better Cooling?
To optimize cooling, pack items that need to stay coldest at the bottom of the cooler for camping. This includes perishable foods, frozen

 6 ways to serve eggless orange cake
 10 Delicious road trip snack ideas

